Learning how to use WordPress can seem like a difficult task at times. You have a few different options to choose from when it comes to uploading media on WordPress. Let’s be honest, options are great! Remember that you will want to size your images before you upload them. We recommend 72 resolution and no less than 500 pixels wide.
Media Library
The first option you have when uploading your media to WordPress is to go to the media library. You will click “Media” on your dashboard that is on the left side of your screen.

Once you have gone to Media, then your Media Library will appear. This will show all of the media that you have uploaded so far.
The first way you can upload images into your Media Library is by clicking on the Add New button in the top left corner of your screen.

Then a screen that lets you choose between dragging and dropping images directly into the Media Library, or selecting files from your computer. Either way you choose to upload them, you can upload multiple files at once.

If you want to save yourself one click of your mouse, you can also drag and drop your images directly into the library. That means that you wouldn’t have to click the “Add New” button, you can just drag and drop once you get to the Media Library. You can still upload multiple files at once if you are wanting to.
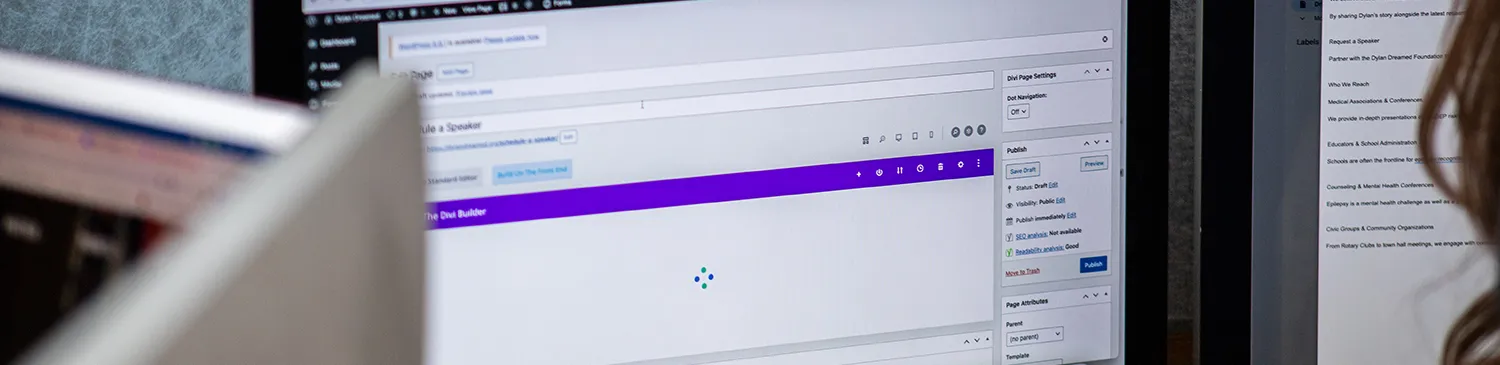
Module Uploads
To upload media from the modules, you will find the module you want to add an image to. After you have found the module, you will click the Module Settings button (looks like a cog).

Once you have done that, the content of the module will show. From there you will click the Add Media button in the top left corner of that module.

From there you will get the option to choose an existing image from your Media Library (one that has already been uploaded).

Or you will get the option to Upload Files (uploading an image that isn’t in your Media Library yet).

Featured Images
If you are wanting to add a featured image to one of your blog posts, this step is a little different than adding any other images. The first thing you will need to do is go to your Posts.

From there you will choose which blog post you want to add a featured image to. Click on that blog. (If you are creating a new blog this will work the same way). You will be looking on the right side of the page, it will be under your categories and tags (if you have them). Where it says “Set featured image” is where you will click.

Once you click “Set featured image”, you will get the option to upload a new image or select an image from your Media Library.

If you have any questions about uploading media or any other questions pertaining to WordPress, please reach out to myheartcreative, an OKC web design company.