Blog posts can be as simple or intricate as you want them to be. With that being said, knowing how to create a blog post on WordPress can seem a little intimidating at first. I’m sure that this step-by-step guide will help, but remember, we are always here for support if you need further assistance.
New Blog Post
The first step in creating a blog post is to log into your website. Once you have logged in, you will need to add a new post. There are a few different ways to add a new post, so this just comes to personal preference. As you know, we think options are awesome!
Option 1:
The first option for adding a new page would be to hover or click on Posts in your Dashboard on the left side of your screen. If you hover over Posts, then this will appear off to the side, and you can select “Add New”.

Option 2:
Also, an option if you click on Posts in the Dashboard. Once you click on Posts, there will be the option to “Add New” underneath it in the Dashboard.

Option 3:
The last option when using the Dashboard is to click on Posts. Then once you do that, at the top of your screen, there will be an “Add New” button you can click.

Option 4:
The last option you have for adding a new page is to hover over “New” in the top left of your screen. Once you hover, there will be a drop-down menu, and you can choose Post from that menu.

Give the Blog a Title and Add Content
Once you have added a new post, you will need to give that post a title.

Now that your blog post has a title, you can start adding the content. With blog posts, you do NOT have to use the Divi Builder unless you want to.

When it comes to content, you can either type your blog directly into your new post or copy and paste the text into your new post if you have the blog written somewhere else. If you copy and paste the content, you will need to remove the formatting of the text before pasting it into your new blog post.

Media
To add media, you will put your cursor in the text where you want the image to go, and then click the “Add Media” button near the top of your screen. Just like any other time you are dealing with images, they will need to be sized before being uploaded to your website.

Once you have clicked the “Add Media” button, you will have the option to select an image that is already in your Media Library

or to Upload a New Image.

Categories, Tags, and Featured Images
Creating categories for your blogs is a great way to keep them organized. Having categories also helps make it a little easier to find specific blog posts. If you know what type of blog you are looking for, then you can find the category and go from there.
Contrary to what some may think, tags are not hashtags. They are similar to categories, but they go a step further in the description. For example, the category desserts might use the tag cookies.
Featured images can be added to your blogs as well. The featured image is the very first image that people see when they click on the blog.
All three of these things, categories, tags, and featured images, can all be found in the bottom right corner of your blog post.

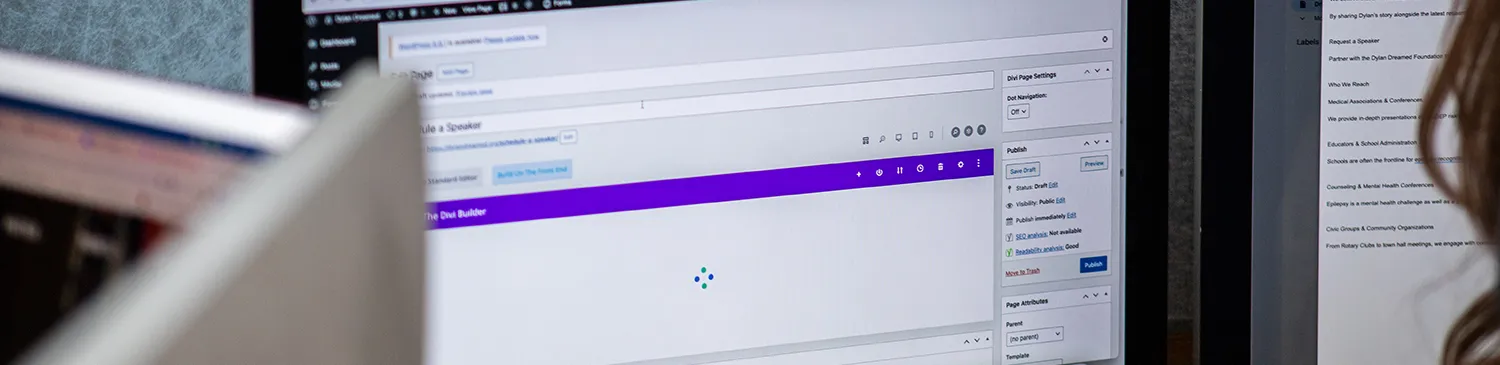
Draft, Preview Publish, or Schedule
Last, but certainly not least, is deciding whether you will save your blog as a draft, publish it, or schedule it to be posted at a later date.
If your blog is not fully done, or you just aren’t ready to set it live on your site yet, saving it as a draft is the best option. This will save all the work you have put into creating your blog post, but it won’t let anyone visiting your site see it.

Previewing your blog lets you see if it looks how you want. When updating a blog post, it also helps you decide if you like the changes you made before saving them.

If you decide to publish your blog, this means it will be live on your site for anyone to see. If you have a blog section in your navigation, or your blog feeds to a section on another page, the most recently published post will show up at the top of that blog page or section.

When saving a blog post, the last option is to schedule the day and time you set it to be posted. Scheduling comes in handy if you write multiple blogs in a month; that way, you won’t forget to publish them. Keep in mind that it is a 24-hour clock, so be sure to put the correct time.

Creating a blog post can be a little overwhelming at first, but it is fairly simple once you get the hang of it. If you have any questions about creating a blog post, web design in Oklahoma City, or Dallas web design, please reach out.